Nobody wants their passport application delayed over a photo error. Yet, thousands of passport photos get rejected every year for simple mistakes. 😟
The good news? These mistakes are completely avoidable if you know what to look for. In this post, we'll cover the 8 most common reasons passport photos are rejected, and how you can avoid each pitfall.
But here's the smartest approach: Rather than guessing if your photo meets all requirements, get instant AI verification that catches these issues before submission.
Consider this your checklist for a flawless passport photo that gets accepted on the first try!
1. Incorrect Head Position or Crop
One of the top mistakes is having your head positioned or sized improperly in the photo. If your face is too close or too far, it falls outside the required dimensions.
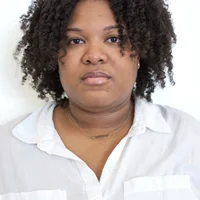
❌ Incorrect: Head positioned too high in frame — Source: U.S. Department of State
The Rules:
• Your head (chin to top of hair) must be between 1 inch and 1⅜ inches in the final photo
• This ensures your face is big enough to see details but not zoomed in too tightly
How to Avoid This:
• Center your head in the frame and leave some space above your hair
• When cropping, don't cut off any part of your head or chin
• Ensure your shoulders are level and you're facing straight ahead (not at an angle)
• Keep your nose pointed directly at the camera. Imagine a straight line from your nose hitting the lens
Common Error: Tilting your head because even a slight tilt can cause rejection for "face not centered."
Pro tip: Use an app or service with a guide overlay to help nail this. If doing it manually, use a template or grid to check head size. For guaranteed compliance, get AI verification that checks positioning automatically.
2. Improper Facial Expression or Closed Eyes
It might be tempting to smile (after all, say cheese! 🙂) but passport photo standards require a neutral facial expression. Showing teeth or big grins are not allowed.
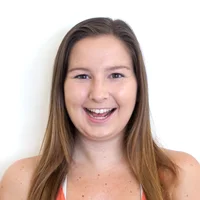
❌ Incorrect: Smiling or showing teeth not allowed — Source: U.S. Department of State
The Requirements:
• Neutral expression (think of a relaxed face, neither happy nor upset)
• Eyes must be open and clearly visible (no squinting)
• A slight natural smile (no teeth) is okay as long as it's very subtle
How to Avoid This:
• Practice your neutral expression in a mirror before taking the photo
• If you blink a lot, have the photographer count to 3 and then open your eyes wide for the shot
• Remove any sunglasses or regular glasses so nothing obstructs your eyes
• Don't exaggerate any expression (no frowning, no raised eyebrows, etc.)
Think of it as: A polite mugshot that is straightforward and neutral.
3. Shadows or Poor Lighting
Lighting issues are extremely common in rejected photos. Shadows across your face or background can cause immediate disqualification.
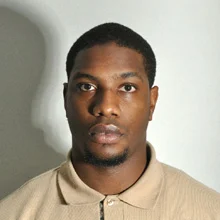
❌ Incorrect: Shadows and uneven lighting — Source: U.S. Department of State
Common Lighting Problems:
• One side of your face is darker than the other
• Shadow of your head against the background
• Overexposed (too bright) or underexposed (too dark) photos
• "Raccoon eyes" from overhead lighting
• Glare from flash
How to Fix Lighting:
• Use even, ample lighting from multiple sources
• Try natural window light to eliminate shadows
• Check the photo for any dark areas, especially around the eyes or under the chin
• If there's shadow on the background, move further from the wall or add a backlight
• Avoid strong overhead lights
• Use diffused lighting to prevent shiny hotspots on your face
The Goal: A properly lit photo shows your true skin tone and all facial details clearly. The passport office needs that for identification.
4. Wearing Glasses or Inadmissible Accessories
Important: As of recent years, glasses are not allowed in passport photos (except for very rare medical exemptions). Many people are still unaware of this change.

❌ Incorrect: Sunglasses and accessories not allowed — Source: U.S. Department of State
Not Allowed:
• Eyeglasses (even clear ones can produce glare)
• Sunglasses
• Hats or head coverings (unless religious)
• Large jewelry that might block features
• Bluetooth earpieces/headphones
• Headbands
How to Avoid This:
• Simply remove glasses for the photo, even if you wear them daily
• If you absolutely must wear them (medical reasons), you need a signed doctor's note
• Take off any hat, headband, or scarf that isn't religious attire
• If you wear religious head covering, ensure it doesn't cast shadows on your face
• Remove big hoop earrings or nose rings that could interfere
• Small studs or necklaces are fine
Quick Check: Look at yourself in a mirror right before the photo. Face, hair, ears all clearly visible, nothing that shouldn't be there.
5. Busy or Incorrect Background
Another frequent mistake is using the wrong background. The requirement is a plain white or neutral background with no distractions.
❌ Incorrect: Busy background with patterns/objects — Source: U.S. Department of State
Common Background Mistakes:
• Colored or patterned backgrounds
• Bookshelves, wallpaper, or furniture visible
• Outdoor settings with trees behind
• Picture frames or doors in the shot
• Gray or uneven lighting making white walls look off
How to Get It Right:
• Always use a neutral, light colored background
• Use a white wall or white sheet
• Make sure it fills the entire frame behind you. No clutter, no furniture edges
• Ensure the background is properly lit so it appears truly white
• You can gently brighten the background in editing if needed
Remember: No fancy backdrops, even if they look nice. Passport officials won't accept blue, gray, or any scenic backgrounds.
6. Low Resolution or Poor Image Quality
Submitting a photo that is blurry, grainy, or has low resolution is a surefire way to get rejected. The passport agency uses facial recognition and needs a clear image of your features.

❌ Incorrect: Blurry, low resolution image — Source: U.S. Department of State
Common Quality Issues:
• Using a screenshot of a photo (very low resolution)
• Old phone or webcam with insufficient megapixels
• Printing on normal printer paper instead of photo paper
• Heavily compressed digital images
• Blurry or out of focus photos
Quality Requirements:
• Minimum: 600×600 pixels for digital submission
• Recommended: 1200×1200 pixels or more
• Print DPI: At least 300 DPI when printing
• Paper: Actual photo paper (matte or glossy), not plain paper
How to Ensure Quality:
• Use a modern smartphone or good camera
• Don't overly compress the image
• If the photo is blurry, retake it in focus rather than trying to "fix" it
• Avoid any filters or effects that reduce quality
• Use an online service that ensures proper resolution and compression
Statistic: 34% of rejections in one study were due to poor image quality or lighting making the face hard to see.
7. Digital Alterations (Photoshopping)
It might be tempting to "touch up" your photo, but any digital alteration of your appearance or background is strictly forbidden. Passport officials are trained to spot edited photos.
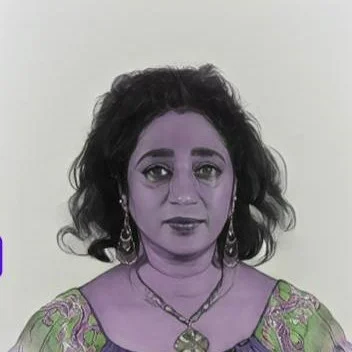
❌ Incorrect: Digital alterations and filters not allowed — Source: U.S. Department of State
Forbidden Alterations:
• Airbrushing your face
• Removing blemishes or wrinkles
• Changing eye color
• Blurring the background digitally
• Removing problems with the image digitally
• Applying filters (even "auto enhance")
• Digitally erasing piercings or tattoos
What's Allowed:
• Basic cropping
• Slight brightness/color correction
• Minor background adjustments (if done flawlessly)
How to Stay Compliant:
• Submit a photo that reflects your true appearance
• If the photo isn't great, retake it rather than heavily editing
• Prevent problems by using better lighting instead of editing afterward
• Don't digitally erase anything visible on your face
• Avoid any obvious signs of digital tampering
Best Practice: If you're unsure whether an edit is acceptable, don't do it. It's better to retake the photo.
8. Wrong Photo Size or Margins
Even if everything about you in the photo is correct, using the wrong print size or margins can cause rejection.
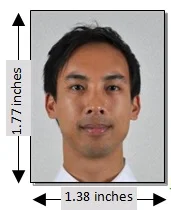
❌ Incorrect: Wrong photo size and improper margins — Source: U.S. Department of State
Size Requirements (U.S.):
• Exact size: 2×2 inch square photo
• No borders: Edge to edge 2×2 with your face correctly proportioned inside
• Head spacing: About ⅛ to ⅜ inch space from the top of your head to the top edge
Common Size Mistakes:
• Printing a larger size and trimming incorrectly
• Leaving white borders on the photo paper
• Cutting inaccurately (resulting in 2.1 × 2 inch instead of exactly 2×2)
• Head positioned too low or too high in the frame
• Using an old photo that's creased or worn
How to Get It Right:
• Use proper templates or online tools for accurate sizing
• If printing at home, set the correct size in print settings
• Check measurements with a ruler after printing
• Don't freehand crop unless you're confident
• Print a fresh copy on quality photo paper
• If using a 4×6 print with multiple photos, cut carefully along the lines
Important: Passport processing agents do measure photos if they look off, so be exact.
Summary: Your Passport Photo Success Checklist
Avoiding these 8 mistakes will put you on the fast track to passport photo success. Here's your quick recap:
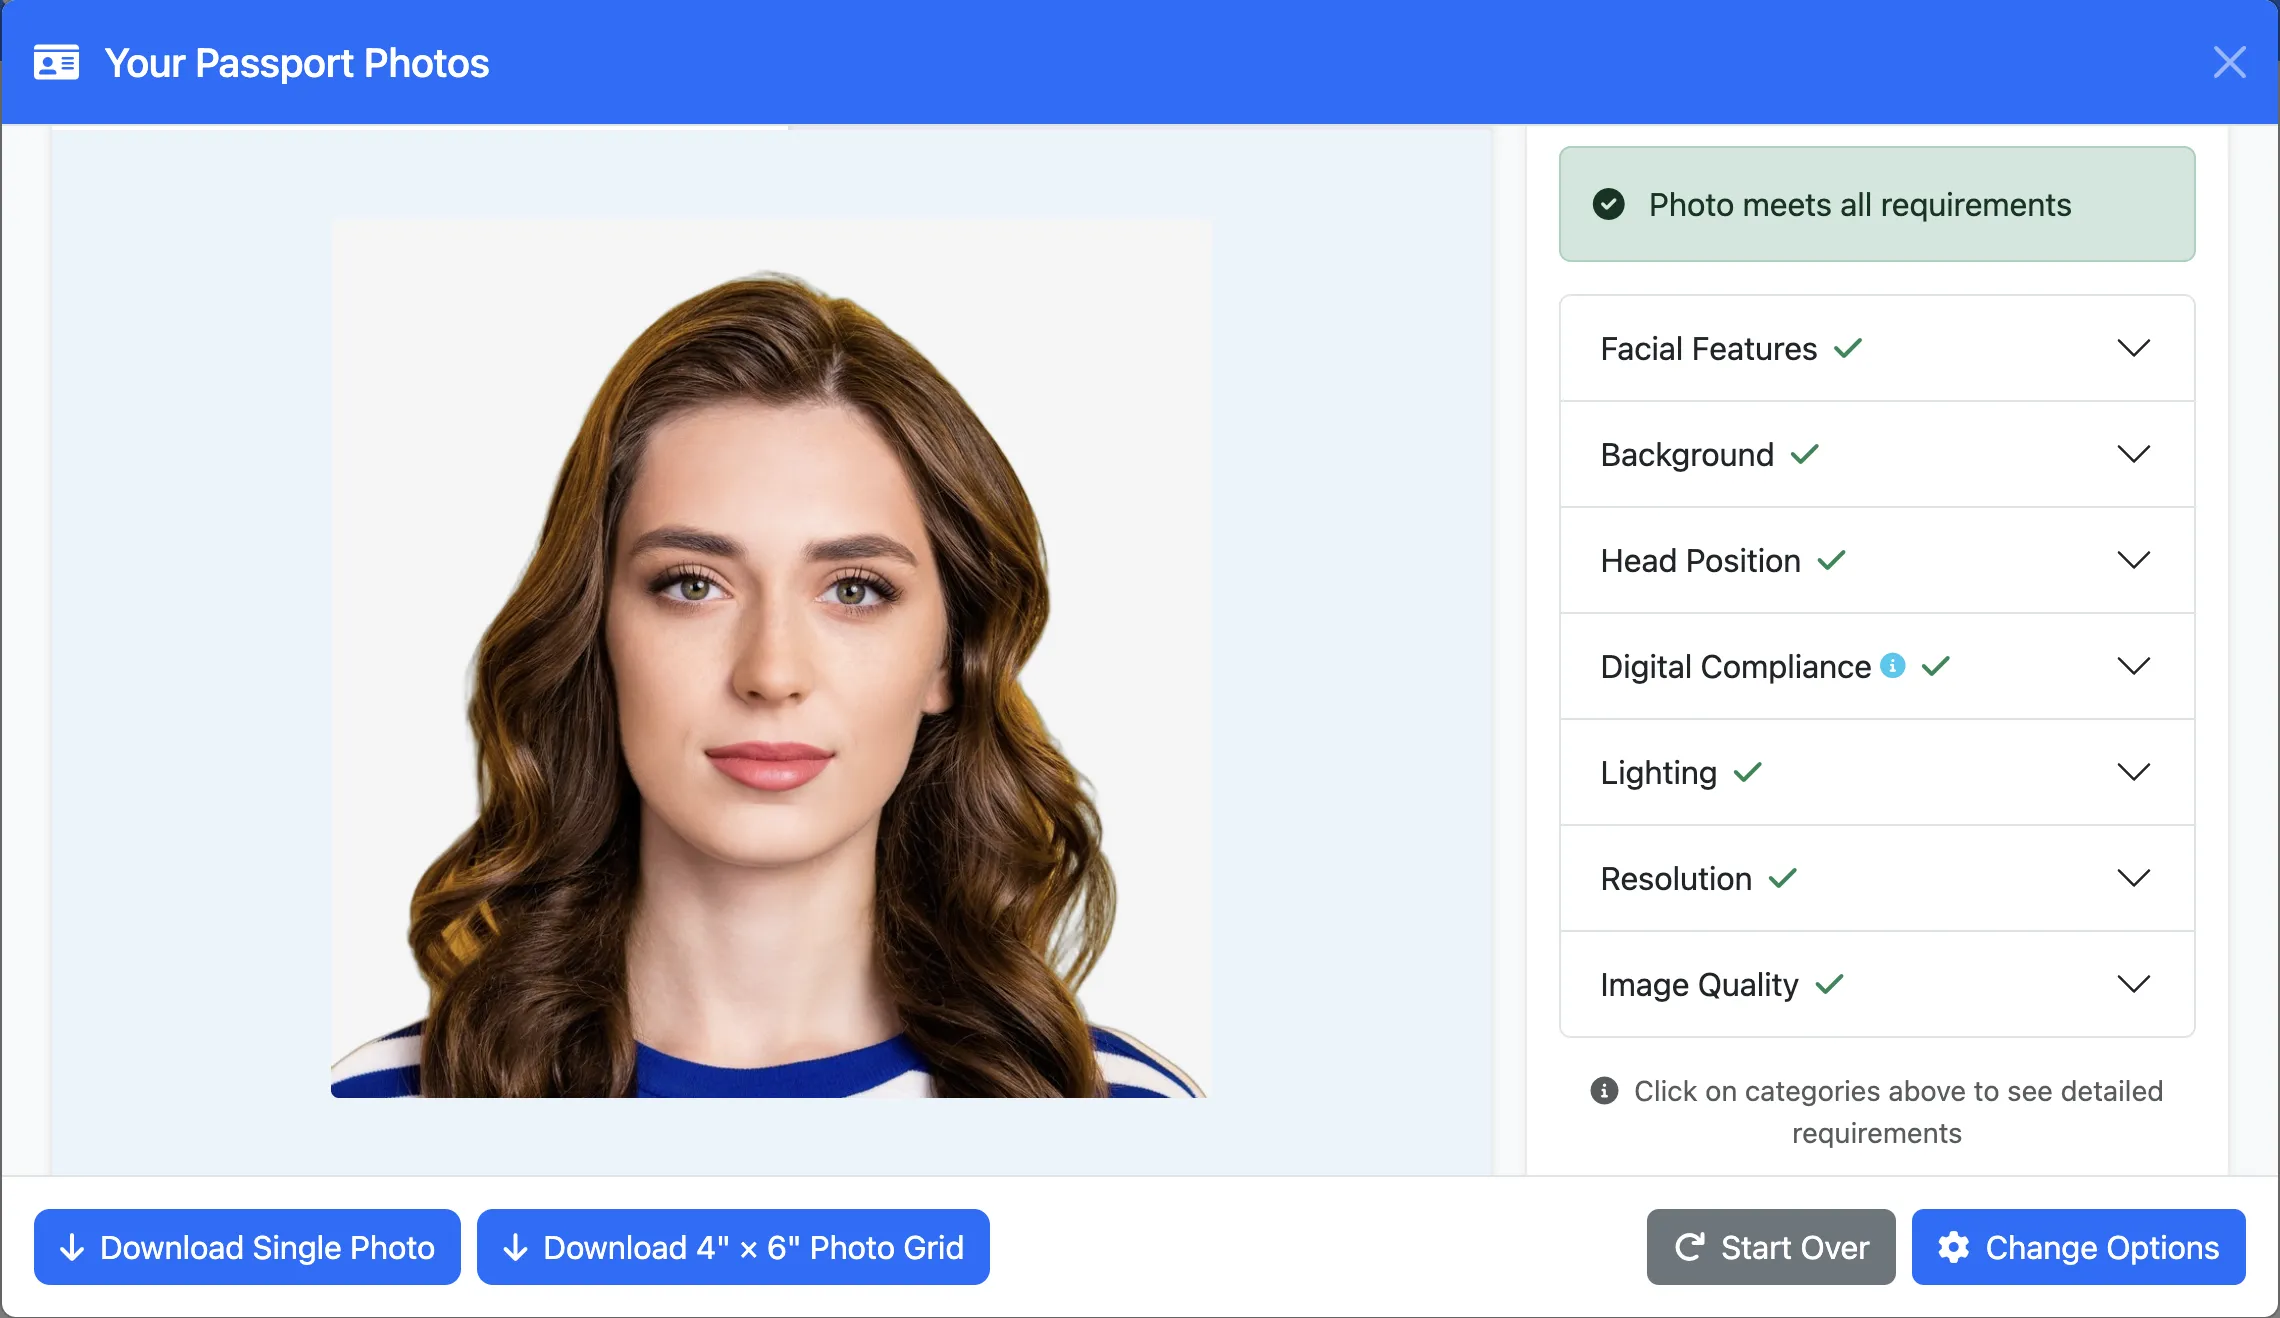
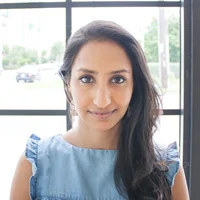
✅ Correct: Perfect passport photo example — neutral expression, proper head position, even lighting, plain white background. This is what your photo should look like!
✅ The Golden Rules:
1. Head straight and properly sized (centered, facing forward) 2. Neutral expression (no glasses, no big smile) 3. Even lighting (no shadows on face or background) 4. Plain white background (no patterns or objects) 5. High resolution photo (sharp and unaltered) 6. Correct size (exactly 2×2 inches with proper margins) 7. No accessories (remove glasses, hats, large jewelry) 8. Recent and quality (taken within 6 months on photo paper)Why Choose AI Verification:
• Catches all 8 common mistakes automatically
• Instant feedback in 30 seconds
• Fix issues before submission
• Money-back guarantee if rejected for photo quality
By learning from these common mistakes, you can confidently take or upload a passport photo knowing it will meet official standards. But for ultimate peace of mind, let our AI verify compliance instantly.
Safe travels, and happy passport snapping! ✈️📸